Maintenance | DBtek
Step-by-Step: Preparing Fibers for Splicing

Successful fiber splicing begins long before the fusion splicer arcs the fiber ends together. Proper preparation ensures low splice loss, durability, and reliability. This guide outlines the essential steps to prepare fibers for splicing using DBtek equipment.
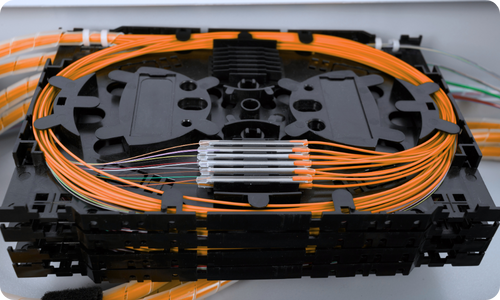
Step 1: Strip the Fiber
- Use a high-quality fiber stripper to remove the protective coating.
- Expose about 30–40 mm of bare glass.
- Avoid scratching the fiber surface, as imperfections increase splice loss.
Step 2: Clean the Fiber
- Wipe the exposed glass with a lint-free wipe soaked in isopropyl alcohol.
- Ensure no residue, oil, or dust remains.
- Cleaning is critical—dirty fibers result in poor splicing.
Step 3: Cleave the Fiber
- Place the cleaned fiber into a precision cleaver.
- Perform a smooth, controlled cleave to achieve a flat end face.
- DBtek kits include high-quality cleavers designed for consistent results.
Step 4: Inspect the Cleave
- A good cleave is flat and free from chips or angles.
- Most DBtek splicers automatically check cleave quality before splicing.
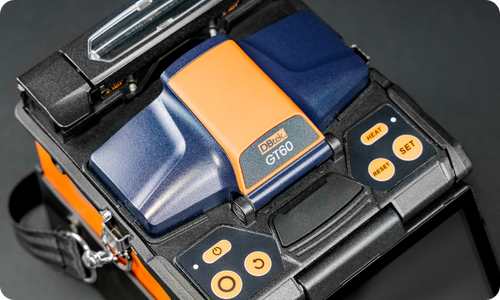
Step 5: Load into the Fusion Splicer
- Insert the fiber into the splicer’s holder or V-groove.
- Ensure alignment and let the machine perform its pre-splice checks.
By carefully stripping, cleaning, cleaving, and inspecting fibers, technicians can maximize splice quality. DBtek’s splicers and accessory kits simplify each stage, ensuring consistent performance in the field.